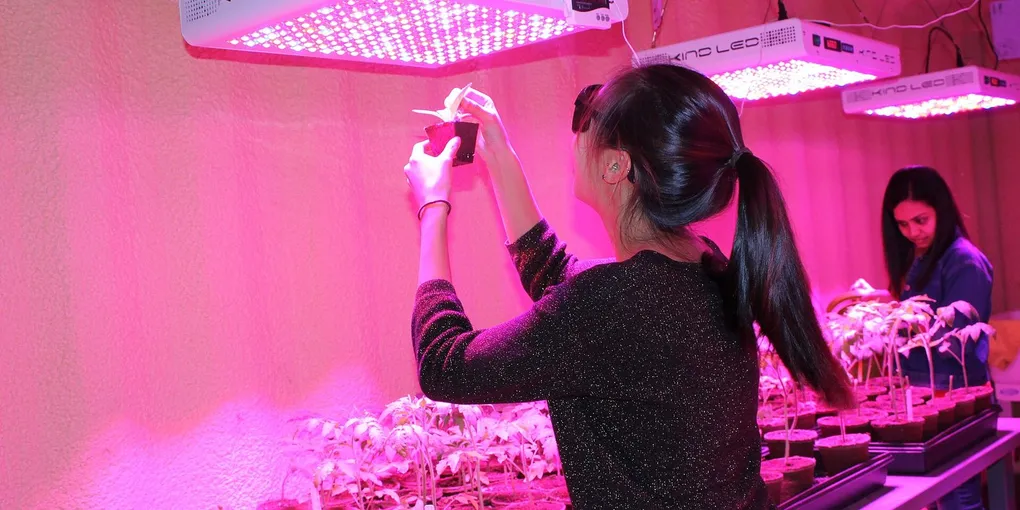
Photo: Simon Fraser University, CC BY 2.0, via Wikimedia Commons (cropped)
How to Set Up an Indoor Grow Tent (Complete Beginner's Guide)
TL;DR
- This is for growing vegetables, herbs and chillies indoors under LED. Mine is an 80x80 cm tent in an apartment.
- Get the light and the airflow right first. Everything else gets easier once the air in the tent is under control.
- Don’t buy a light by its watts. Leafy greens need a modest light; tomatoes and chillies need far more.
- Heat and damp air are what quietly ruin most beginner setups. Most of my early problems were the environment, not the plants.
- Put a temperature and humidity sensor at leaf height and keep the history. A week of readings beats one glance.
Continue reading
What you need
- LED grow light (quantum board type)
- PAR/PPFD meter (optional)
- Inline extraction fan with speed controller, plus ducting
- Carbon filter (optional)
- Clip-on circulation fan
- Temperature and humidity sensor
- Dehumidifier and portable AC unit (optional)
- Fabric pots, 7-11 L
- Soil, or coco coir with a two-part nutrient
- pH pen and EC meter (needed for coco)
- Smart plugs and a microcontroller board for logging (optional)
Size the tent to your space
Standard footprints run 40x40, 60x60, 80x80, 100x100, 120x60 cm and up. Bigger means more light, more airflow and more floor space.
For a few herb pots, some chillies or a couple of tomatoes, 80x80 cm is a practical middle ground. It fits 3-4 pots of 7-11 L without an oversized light or fan. Below 60x60 cm you’re limited to seedlings, microgreens and a few herbs. From 120x60 cm up, plan ventilation from day one.
Check ceiling height too. You need room above the canopy for the light, its hanging distance and the duct along the top.
Light: PPFD and distance, not watts
The wattage on the box is marketing. What matters is PPFD (µmol/m²/s) at canopy level, and how evenly it’s spread.
Rough targets for edibles under LED:
- Leafy greens, herbs: 200-400
- Chillies, tomatoes, vegetative: 400-600
- Chillies, tomatoes, fruiting: 600-900
A quantum board drawing around 240 W (real draw, not “equivalent”) covers 80x80 cm at 30-45 cm. I start seedlings at 40-45 cm and lower the light as plants grow. Bleached leaves mean too close, stretching means too far.
{AFFILIATE: LED grow light - quantum board type}
Your eyes can’t judge intensity. A cheap PPFD meter, or a lux-to-PPFD app, gets you close enough.
{AFFILIATE: PAR/PPFD meter}
Air: in, out and across the canopy
You need air coming in (passive vents or a small fan), air going out (an inline fan through ducting, with a carbon filter if smell matters, usually to a window) and air moving across the leaves (a clip-on fan inside).
The inline fan does the heavy lifting. For an 80x80x180 cm tent (about 1.15 m³) you want to swap the air several times a minute, with a speed controller so you aren’t drying pots out too fast.
{AFFILIATE: inline fan with speed controller} {AFFILIATE: carbon filter} {AFFILIATE: small clip-on circulation fan}
Circulation also makes stems stronger and kills the still, damp pocket that mold and fungus gnats love.
Temperature, humidity and VPD
This is where beginner setups fail quietly: plants don’t die, they underperform for weeks while nobody notices.
Rough targets:
- Vegetable seedlings and cuttings: 22-26°C, 65-75% RH
- Vegetative growth (greens, herbs, young chillies and tomatoes): 22-28°C, 55-65% RH
- Fruiting chillies and tomatoes: 20-26°C, 40-55% RH
I track VPD instead of humidity alone: one number for how easily the plant transpires. For vegetables in vegetative growth, 0.8-1.2 kPa works. A bit lower for seedlings, a bit higher for fruiting.
Heat from the light in summer and humidity spikes after watering are the two usual problems. I added a small dehumidifier, and later an AC unit (Cecotec ForceClima 9500), after a summer heat wave pushed tent temperatures so high that I moved the light schedule to night, when the room was cooler.
{AFFILIATE: dehumidifier} {AFFILIATE: portable AC unit}
Substrate, pots and logging
Soil (BioBizz All Mix) is the forgiving option: it holds nutrients and buffers pH mistakes. Coco coir with Canna Coco A+B grows faster, but buffers nothing, so you manage pH and EC yourself.
My starting point in coco: pH 5.8, EC 1.0-1.2 for young plants, rising as they mature, with 15-20% runoff each watering to flush salts. In soil you can skip precise EC, but check runoff pH now and then.
{AFFILIATE: pH pen} {AFFILIATE: EC/TDS meter} {AFFILIATE: fabric pots, 7L/11L}
Timers and a cheap thermometer work. But a tent is small enough to actually instrument. Mine runs on Home Assistant on a Raspberry Pi. Smart plugs switch the light, fan and dehumidifier on schedules and thresholds. An ESP32 with a DHT22 reports temperature and humidity over MQTT, and Home Assistant calculates VPD live.
Next on the list, not running yet: a capacitive soil moisture sensor to catch bad watering early, and an MH-Z19B CO2 sensor, since CO2 drops fast in a sealed tent with a dense canopy.
{AFFILIATE: ESP32 dev board} {AFFILIATE: DHT22 temperature/humidity sensor} {AFFILIATE: capacitive soil moisture sensor} {AFFILIATE: MH-Z19B CO2 sensor} {AFFILIATE: smart plug, Wi-Fi/Zigbee}
The value is the log, not the gadgets. When a leaf wilts, a week of VPD history tells me far more than one reading. The full build, with every part linked, is on my setup page.
FAQ
What size grow tent should a beginner start with? For a handful of herb, chilli or vegetable plants, 60x60 or 80x80 cm. Small enough to control, big enough to be worth the effort.
How far should the LED be from the plants? For a quantum board, 30-45 cm above the canopy: farther for seedlings, closer as plants mature. Measure PPFD if you can.
Do I need a carbon filter for vegetables? Not usually. Filters are for smell, and most edibles don’t have one.